프로필

내 사진
I should've started this a long time ago, but I've finally done it. My goal is not only to share the growth of my children but also the answers to questions that I've had while I've been a mother. I'm hoping that this is a better outlet for me than Facebook. We'll see how it goes!

2013년 2월 4일 월요일

Potty Training


The Importance of Naked time During Potty Training

Why going clothes-free can be a successful toileting tool

by Sara Au and Peter L. Stavinoha, PhD

Why Nakedtime?

Nakedtime is one of our favorite methods to begin potty training. Basically, the idea is that you allow your child to simply be naked, but in fairly close proximity to a bathroom or potty chair, for periods of time during which (we hope) they will need to go.
To your child, it's tons of fun, and perhaps something she/he hasn't been able to do before. To you, it's a fantastic teaching tool with the following benefits:
  • Nakedtime is nonthreatening and passive; when you start, you don't even have to mention that it has anything to do with going potty.
  • It's a natural introduction to toileting.
  • With no clothes on, kids have, for the first time, a clear view of the physical mechanics of urination and defecation.
  • You can provide immediate explanations of what's happening, demystifying the process and breaking it down into simple, specific behaviors your child can learn one at a time.
  • You, too, will have a clear view of your child's body language, and can more closely read the signs of impending elimination.
  • Without the barrier of a diaper between your child and the toilet, results can come quickly.
Nakedtime is a very useful and simple tool for parents to use to potty train. It is nonthreatening to the child, and involves no cajoling or power struggles. Because you are simply removing the barriers between your child and his or her physical elimination process, nakedtime brings out the instinctive and intuitive reactions we want our children to learn.
Nakedtime for toddlers or preschoolers demonstrates the cause and effect of the biology of the body—drinking and eating leads to digestion which triggers elimination in the form of pee and poop—and physically trains them to recognize the signs of having to go and eventually hold it until they can get to the potty.
Because they don't have any clothes on, their attention will be focused on the mechanics of elimination and they will actually see and feel the results immediately. Getting the diaper out of the picture will help them make the connection between the urge to go, the actual act, and, at first, the cleanup. Training your child naked, as opposed to simply dressing her in clothes with underwear, also means the lesson doesn't get entangled in clothes that are hard to pull down; you both can focus on the primary goal of getting the pee-pee into the potty.
Once your son or daughter is successful in that, you can move on to teaching everything else that goes along with it. Wet or dirty clothes are powerful motivators for your child to regularly go on the toilet, but they have to know how to do that first.
Excerpted from Stress-Free Potty Training: A Commonsense Guide to Finding the Right Approach for Your Child by Sara Au and Peter L. Stavinoha, Ph.D. Copyright © 2008 Sara Au and Peter L. Stavinoha, Ph.D. Published by AMACOM Books, a division of American Management Association, New York, NY. Used with permission. All rights reserved.www.amacombooks.org.

Also 

http://www.babycenter.com/0_potty-training-in-three-days-or-less_10310078.bc?page=2

2013년 1월 16일 수요일

Understanding Bullies


Understanding Bullying by Tara L. Kuther, Ph.D.
Western Connecticut State University

Each day hundreds of thousands of children dread going to school and facing the taunts, jeers, and humiliation wrought by bullies. When we think of bullying, the easily identifiable physical and verbal harassment comes to mind, including teasing, taunting, threatening, and hitting. Relational bullying is more difficult for adults to observe and identify. Children who bully through relational means socially isolate their victims by intentionally excluding them or spreading rumors about them. Bullying, then, refers to physical or psychological intimidation that occurs repeatedly, is intended to inflict injury or discomfort on the victim, and creates an ongoing pattern of harassment and abuse.
The bullying relationship is characterized by an imbalance of power, such that the victim of bullying finds it hard to defend him- or herself and begins to feel powerless against the bully. The child who bullies typically is bigger, older, stronger, or more popular than the victim of bullying, and his or her intent is to exert power over the victim. For example, girls who bully through exclusion and other forms of relational aggression tend to have more social power than their victims. The bully is aware that his or her behavior causes distress, the bully enjoys the victim's reaction, and the bullying continues and escalates. Bullies hurt others in order to feel strong and powerful at a given moment.
It's very difficult for most parents to determine whether their children engage in bullying behaviors because most bullying occurs out of parents' sight.
Some adults and children rationalize bullying because victims are overly sensitive, cry easily, or act in ways that set them apart from other children. Even if the victim does show these characteristics, adults and children must know bullying is not a healthy coping response—it signals that a child needs to learn how to manage his or her emotions, release anger and frustration in more healthy ways, and learn more constructive strategies for getting along with others. Your role, as parent or teacher, is to help children establish more mature and healthy ways of relating with others, thereby ensuring that they will grow into caring and adaptive adults.
Who is likely to be victimized?
There are at least two types of victims: passive victims and reactive victims. The stereotypical image of the bullied child is the passive victim: He or she avoids confrontation, is physically slight, quiet, does not tease others, and does not defend him- or herself from the bully. The passive victim turns inward when bullied—crying and withdrawing rather than fighting back.
Reactive victims are much less common than passive victims. The reactive victim provokes attacks by being aggressive, disruptive, argumentative, and antagonizing towards bullies and other children, and retaliates when he or she is bullied. Sometimes reactive victims are referred to as bully/victims because they straddle the fence of being a bully and/or victim. They are difficult to identify because they seem to be targets for bullies, but they often taunt bullies and other children. Not only do reactive victims fight back when bullied, but they sometimes channel their rage and anger into bullying others, especially those younger and weaker than themselves. In this way, some victims of bullies transform into bullies themselves, perpetuating the abuse and singling out new victims.
What are the effects of bullying? 
Bullying is not a normal part of growing up. Victims of bullying suffer psychological and sometimes physical scars that last a lifetime. Victims report greater fear and anxiety, feel less accepted, suffer from more health problems, and score lower on measures of academic achievement and self-esteem than students who are not bullied. Victims often turn their anger inward, which may lead to depression, anxiety, and even suicide. The experience of bullying is also linked with violence, as the fatal school shootings in Littleton, Colorado, and Jonesborough, Arkansas, have illustrated.
However, it's not just victims who are hurt by bullying. Bullies fail to learn how to cope, manage their emotions, and communicate effectively—skills vital to success in the adult world. Without intervention, bullies suffer stunted emotional growth and fail to develop empathy. Since bullies are accustomed to achieving their immediate goals by pushing others around, they don't learn how to have genuine relationships with other people. Instead, they externalize and blame others for their problems, never taking responsibility, nor learning how to care for another's needs. Bullies who don't learn other ways of getting what they want develop into adult bullies who are more likely to experience criminal troubles, be abusive toward their spouses, and have more aggressive children, perhaps continuing the cycle of bullying into the next generation.
Ending bullying: What works
The most effective way of addressing bullying is through comprehensive schoolwide programs. Schoolwide programs, developed collaboratively between school administration and personnel, students, parents, and community members, seek to change the school's culture to emphasize respect and eliminate bullying. So what has been shown to work in preventing and ending bullying?
  • Increased awareness, understanding, and knowledge about bullying on the part of school staff, parents, and students
  • Involvement of the wider community, including parents and service providers
  • Integration of bullying-related content into the curriculum in ways that are appropriate to each grade
  • Increased supervision and monitoring of students to observe and intervene in bullying situations
  • Involvement of students
  • Encouragement of students to seek help when victimized or witnessing victimization
  • A plan to deal with instances of bullying
  • Class and school rules and policies regarding bullying and appropriate social behavior
  • Promotion of personal and social competencies (e.g., assertiveness, anger management, self-confidence, and emotional management skills)
  • A schoolwide community of respect in which every student is valued
  • Collaboration between parents, educators, service providers, and students to reinforce messages and skills across settings (e.g., home, school, community)
  • Serious commitment to implementing the program on the part of administrators and school staff 
 http://www.aaets.org/article175.htm


Differences between teasing and bullying

By Justin Coulson
http://www.kidspot.com.au/schoolzone/Friendships-Differences-between-teasing-and-bullying+4032+394+article.htm


2012년 11월 17일 토요일

2012년 10월 17일 수요일

Gestational Diabetes Diet


http://www.nlm.nih.gov/medlineplus/ency/article/007430.htm


Gestational diabetes is high blood sugar (glucose) that starts or is first diagnosed during pregnancy.
Eating a balanced diet is an important part of any pregnancy. Diet is even more important if you have diabetes.
This article discusses the diet recommendations for women with gestational diabetes who do NOT take insulin.

Recommendations

The best way to improve your diet is by eating a variety of healthy foods.
You should learn how to read food labels, and consult them when making food decisions.
Talk to your doctor or dietitian if you are a vegetarian or on some other special diet.
In general, your diet should be:
  • Moderate in fat and protein
  • Provide controlled levels of carbohydrates through foods including fruits, vegetables, and complex carbohydrates (such as bread, cereal, pasta, and rice)
  • Lower in foods that have a lot of sugar, such as soft drinks, fruit juices, and pastries
You will be asked to eat three small- to moderate- sized meals and one or more snacks each day. Do not skip meals and snacks. Keep the amount and types of food (carbohydrates, fats, and proteins) the same from day to day.
CARBOHYDRATES
  • Carbohydrates should make up less than half of the calories you eat.
  • Most carbohydrates are found in starchy or sugary foods, such as bread, rice, pasta, cereal, potatoes, peas, corn, fruit, fruit juice, milk, yogurt, cookies, candy, soda, and other sweets.
  • High-fiber, whole-grain carbohydrates are healthier choices.
  • Vegetables (such as carrots, broccoli, and spinach) add much more to your health than to your blood sugar. Enjoy lots of them.
  • Carbohydrates in food are measured in grams. You can learn to count the carbohydrates in the foods that you like and that you eat.
GRAINS, BEANS, AND STARTCHY VEGETABLES
  • Eat 6 or more servings a day: one serving equals 1 slice bread, 1 ounce ready-to-eat cereal, 1/2 cup cooked rice or pasta, or 1 English muffin.
  • Foods like bread, grains, beans, rice, pasta, and starchy vegetables are loaded with vitamins, minerals, fiber, and healthy carbohydrates.
  • Choose carbohydrate sources with plenty of fiber. Eat whole-grain foods such as whole-grain bread or crackers, tortillas, bran cereal, brown rice, or beans. Use whole-wheat or other whole-grain flours in cooking and baking.
  • Eat more low-fat breads, such as tortillas, English muffins, and pita bread.
VEGETABLES
  • Eat 3 - 5 servings a day: one serving equals 1 cup leafy, green vegetables; 1 cup cooked or chopped raw leafy vegetables; 3/4 cup vegetable juice; or 1/2 cup of chopped vegetables, cooked or raw.
  • Choose fresh or frozen vegetables without added sauces, fats, or salt. You should opt for more dark green and deep yellow vegetables, such as spinach, broccoli, romaine, carrots, and peppers.
FRUITS
  • Eat 2 - 4 servings a day: one serving equals 1 medium whole fruit (such as a banana, apple, or orange); 1/2 cup chopped, frozen, cooked, or canned fruit; or 3/4 cup fruit juice.
  • Choose whole fruits more often than juices. They have more fiber. Citrus fruits, such as oranges, grapefruits, and tangerines, are best. Opt for fruit juices without added sweeteners or syrups.
  • Choose fresh fruits and juices, which retain more of their nutritional value than frozen or canned varieties.
MILK AND DAIRY
  • Eat 4 servings a day: one serving equals 1 cup milk or yogurt, 1 1/2 oz. natural cheese, or 2 oz. processed cheese.
  • Choose low-fat or nonfat milk or yogurt. Yogurt has natural sugar in it, but avoid yogurt with added sugar or artificial sweeteners.
  • Dairy products are a great source of protein, calcium, and phosphorus (to keep calories and cholesterol in check, though, choose low-fat dairy products).
PROTEIN (MEAT, FISH, DRY BEANS, EGGS, AND NUTS)
  • Eat 2 - 3 servings a day: one serving equals 2-3 oz. cooked meat, poultry, or fish; 1/2 cup cooked beans; 1 egg; or 2 tablespoons peanut butter
  • Choose fish and poultry more often. Remove the skin from chicken and turkey. Select lean cuts of beef, veal, pork or wild game.
  • Trim all visible fat from meat. Bake, roast, broil, grill, or boil instead of frying.
  • Foods from this group are excellent sources of B vitamins, protein, iron, and zinc.
SWEETS
  • Sweets are high in fat and sugar, so keep portion sizes small.
  • Eat sweets that are sugar-free.
  • Ask for extra spoons and forks and split your dessert with others.
FATS
  • Go easy on butter, margarine, salad dressing, cooking oil, and desserts. But don't cut fats and oils from your diet entirely. They provide long-term energy for growth and are essential for brain development.
  • In general, you should limit your intake of fatty foods, especially those high in saturated fat such as hamburger, cheese, bacon, and butter.
OTHER LIFESTYLE CHANGES
Your doctor may also suggest a safe exercise plan. Walking is usually the easiest type of exercise, but swimming or other low-impact exercises can work just as well. Exercise is an important way to keep blood sugar in control.

Alternative Names

Gestational diabetes diet

References

American Diabetes Association. Standards of medical care in diabetes -- 2012. Diabetes Care. 200 Jan;25 Suppl 1:S11-63.
American Diabetes Association. Nutrition recommendations and interventions for diabetes: a position statement of the American Diabetes Association. Diabetes Care. 2008;31:S61-S78.
Cunningham FG, Leveno KJ, Bloom SL, et al. Diabetes. In: Cunningham FG, Leveno KL, Bloom SL, et al, eds.Williams Obstetrics. 23rd ed. New York, NY: McGraw-Hill; 2010:chap 52.
Serlin DC, Lash RW. Diagnosis and management of gestational diabetes mellitus. Am Fam Physician. 2009 Jul 1;80(1):57-62.
Benjamin TD, Pridijan G. Update on gestational diabetes. Obstetrics and Gynecology Clinics. 2010 June;27(2):255-267.

Update Date: 8/7/2012

Updated by: A.D.A.M. Health Solutions, Ebix, Inc., Editorial Team: David Zieve, MD, MHA, and David R. Eltz. Previously reviewed by Linda J. Vorvick, MD, Medical Director, MEDEX Northwest Division of Physician Assistant Studies, University of Washington, School of Medicine; Susan Storck, MD, FACOG, Chief, Eastside Department of Obstetrics and Gynecology, Group Health Cooperative of Puget Sound, Bellevue, Washington; Clinical Teaching Faculty, Department of Obstetrics and Gynecology, University of Washington School of Medicine (9/13/2011)
A.D.A.M Quality Logo
A.D.A.M., Inc. is accredited by URAC, also known as the American Accreditation HealthCare Commission (www.urac.org). URAC's accreditation program is an independent audit to verify that A.D.A.M. follows rigorous standards of quality and accountability. A.D.A.M. is among the first to achieve this important distinction for online health information and services. Learn more about A.D.A.M.'s editorial policy, editorial process and privacy policy. A.D.A.M. is also a founding member of Hi-Ethics and subscribes to the principles of the Health on the Net Foundation (www.hon.ch).
The information provided herein should not be used during any medical emergency or for the diagnosis or treatment of any medical condition. A licensed physician should be consulted for diagnosis and treatment of any and all medical conditions. Call 911 for all medical emergencies. Links to other sites are provided for information only -- they do not constitute endorsements of those other sites. Copyright 1997-2012, A.D.A.M., Inc. Duplication for commercial use must be authorized in writing by ADAM Health Solutions.
A.D.A.M Logo

2012년 9월 1일 토요일

After we move to Logan and Rocky started school, I noticed that I was really moody in the mornings. I admit that I really just thought that I was pregnant and that it was some sort of diabetic sugar imbalance.  The further the week progressed the more I decided that it was some sort of depression.

I do think that my diet has something to do with it. I really crave sugars in the morning, but I know that if I eat them that I 'll be wiped out for a few hours.  So I tried really hard to avoid milk and sugar in the morning.  I even tried to eat fruit instead to get some sort of natural sucrose in me.  That didn't seem to work at all. Well, I decided to look up morning depression and I found this article that gave me an idea of what might be going on. 

http://www.healthcentral.com/depression/c/84292/88543/depression

                                        Do You Have Morning Depression?
By Merely Me Monday, September 28, 2009
30

Over the months that I have been writing for My Depression Connection I have noticed a definite trend of members who talk about feeling more depressed and/or anxious in the morning hours than any other time of day.  So I decided to do a little research to find if this were a common phenomenon for people who suffer from depression and what one can do about it.

In fact I did find many references in the literature for morning depression by its formal name of diurnal mood variation.  Diurnal mood variation is described as a symptom of generally more severe depression where one's mood is worse at certain times of day.  For many people this time of day is the morning hours where one feels the worst and then they may feel better as the day goes on.  It is unclear what causes diurnal mood variation but some think it has to do with a disruption to biological circadian rhythms or our body's natural body clock.  For some people it may be biologically easier to feel better later in the day.

It is postulated that people who suffer from seasonal affective disorder or SAD also have a disruption of their biological circadian rhythms.  A cluster of nerves in the brain located on the on the hypothalamus are responsible for our biological clock.  What affects our biological clock?  Light is definitely one factor and this is why some folk feel off kilter or even depressed as the winter approaches giving us less daylight.  If your biological clock is offset this can affect the secretion of melatonin which induces sleep.  People with a disturbance to their body clock may suffer from depression, bipolar disorder, seasonal affective disorder or have sleep problems.  You may read more about how disruptions to our body clock affect our mental health by reading this article by Patrick C. Marino entitled, "Biological Rhythms as a Basis for Mood Disorders." 

Getting back to the topic of morning depression, I have my own personal thoughts about why some people feel worse in the mornings based upon both the description of our circadian rhythms and also from my own experience.  Here are some of my guesses as to why some people suffer from morning depression.

  • Once the seasons change, especially from summer to winter there is a period of time when it is likely you will wake up in darkness and if you work, you will also return home in darkness. For all the people working in sunless cubes, you may totally miss any light at all. Many studies have shown that a lack of light can make you feel depressed and also mess with your biological clock.
  • In the mornings your blood sugar may be low. You have not eaten in many hours. And if you are a person who skips breakfast then you are increasing the odds for feeling crummy due to a lack of energy.
  • Many people who suffer from depression also suffer from sleep problems. If you have not gotten a good night's sleep then you are going to wake up feeling tired and miserable.
  • Sleep can be a refuge for those of us who suffer from depression. Waking up disrupts that peaceful feeling as the pressures and anxieties of the day come flooding into our consciousness. It is so to speak, a "rude awakening." Some days when I wake up, my worries feel like I am being pelted by rocks. They seem all the more magnified because of the sharp contrast between sleep and wakefulness.
  • When you are depressed, the beginning of the day can seem overwhelming. There is so much time ahead for things to potentially go wrong. There are days when I wake up and think, "Please help me to survive this day." Those are the days you have to literally push yourself to get out of that bed. 

"

I really think that there were several factors that play a role in my problem:
Lack of sleep...good old 6am days.
I'm still breastfeeding and my blood sugar could be low in the morning.
Rocky is going to school and I have more time with the kids.
The weather is changing, especially this weekend with the rain.

The last two listed, I believe, are the key culprits.  I get bored more frequently with the kids living here in the this apartment. To list a few differences: I have less to take care of, no cat to feed or garden to water.  I also feel way too close to our neighbors and I really feel like I delving into their lives just by doing my everyday chores.  Yet, I don't want to close myself off completely by closing the drapes and living in a cave all day.  If I were closer to the neighbors, I think that it would be different, but the situation with Chelsea has gotten to a point where I just want to hide. 

2012년 8월 17일 금요일

Quiet book

http://quietbook.blogspot.com/

onday, February 6, 2012


Mama Duck's quiet book

 I received a nice comment on this blog last month from Jaclyn who writes sweetmamaduck and she shared with me a link to her beautiful quiet book that she recently put together.  She has actually made 2 quiet books- one for her son and one for her niece (such a nice Aunt huh- you know what I mean if you've made a quiet book before- they take a lot of sweat and tears to create!).


I wanted to share with you all her cute ideas and pages.

It's hard to choose, but I think my favorites are...
The washing machine/getting dressed pages (look at that cute clothesline and the washer window!):
The fridge with magnets:
And look how clever this is, the fridge opens up and you can fix yourself a sandwich!:
Look at how fun this part of her road/car page is complete with a carwash and gas pump:
I love this little deer/strawberry page:
I think my favorite thing about it is the cute little owl in the tree!:
And I love her cover.  What precious fabric!:

Jaclyn also has a great pinterest board that you all need to go check out where she has a great collection of cute quiet book pages found across the Internet.

Thanks Jaclyn for sharing!


Saturday, November 19, 2011


A "months" quiet book

I got an email from "Kendra" recently and she shared a link to a quiet book she had made that highlighted the months of the year.  Look how cute this book is:
It goes through all the months of the year with each page themed as a particular month.  See the book in its entirety here (all pictures on this post are linked from her blog).

My favorite month, is this month (November), the fuzzy turkey!:
 And my second favorite is the February Valentine's page:
And look at this pretty April Easter basket and May flowers:
Thanks for sharing Kendra!

If you have  unique quiet book idea, you'd like to share, email me (fowlerfam at gmail dot com) and I'd love to feature you here on the quietbook blog!

Saturday, September 24, 2011


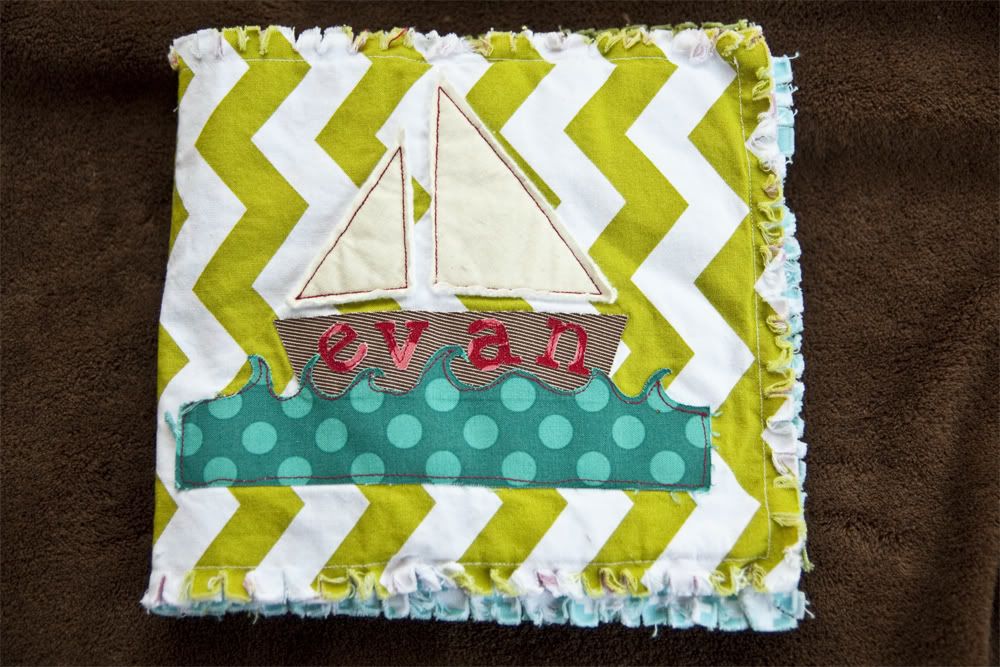
A "texture" quiet book

above picture taken from here
I received an email from Vanessa from Lellaboutique, who by the way has SUCH a cute crafting blog full of some fantastic ideas.

Amongst all the other treasures Vanessa makes on her blog, she also has made her own rendition of quiet books, called "texture books".
above picture taken from here 
She has some adorable baby boy and baby girl "texture books" and was willing to let me link to them from here.
 above picture taken from here
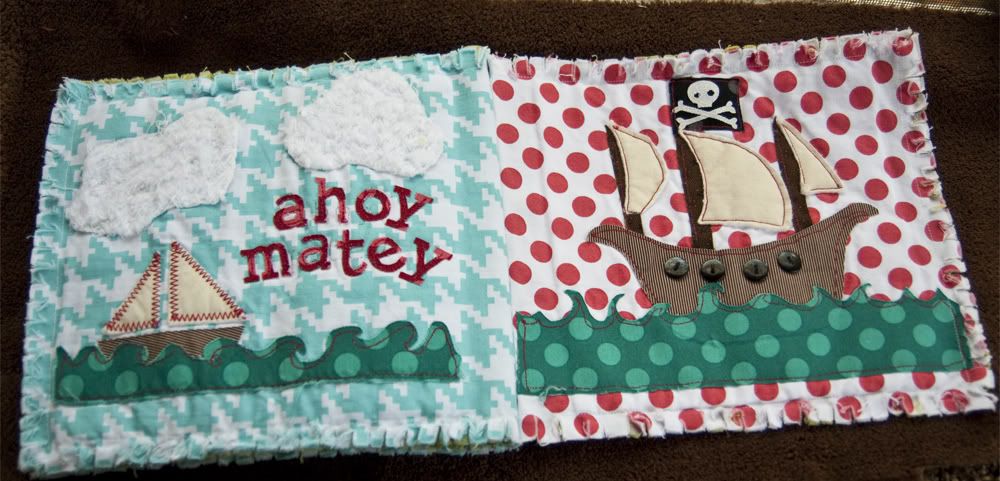
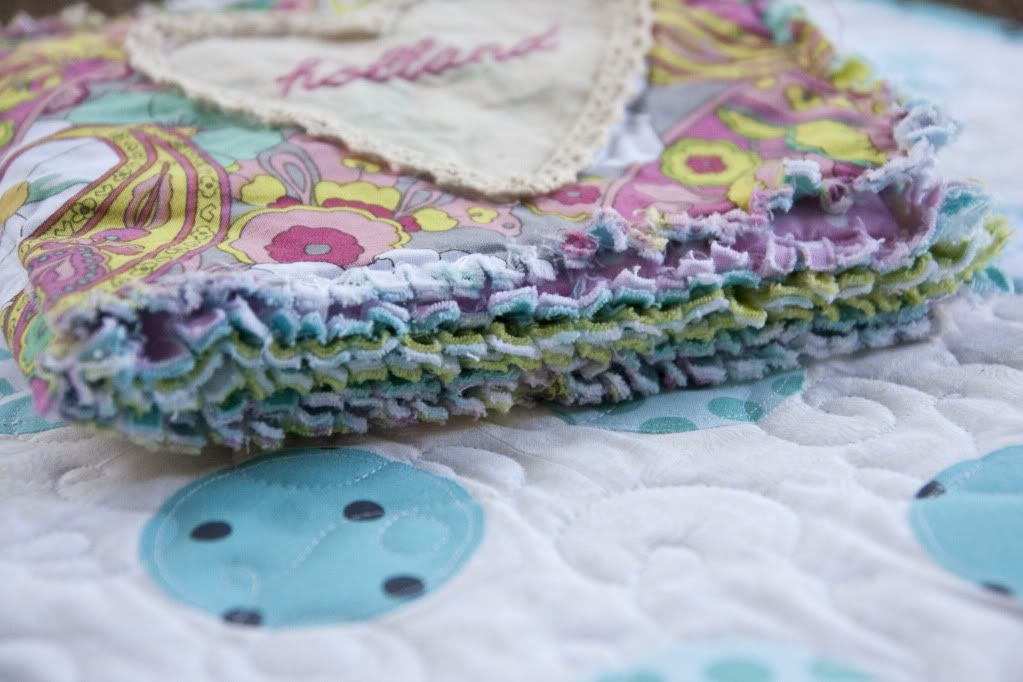
Vanessa's texture books are made from an array of colorful fabric and have all sorts of textures for baby to roll their rolly-polly hands over and full of fun familiar pictures for their little eyes to light up over.
 above picture taken from here
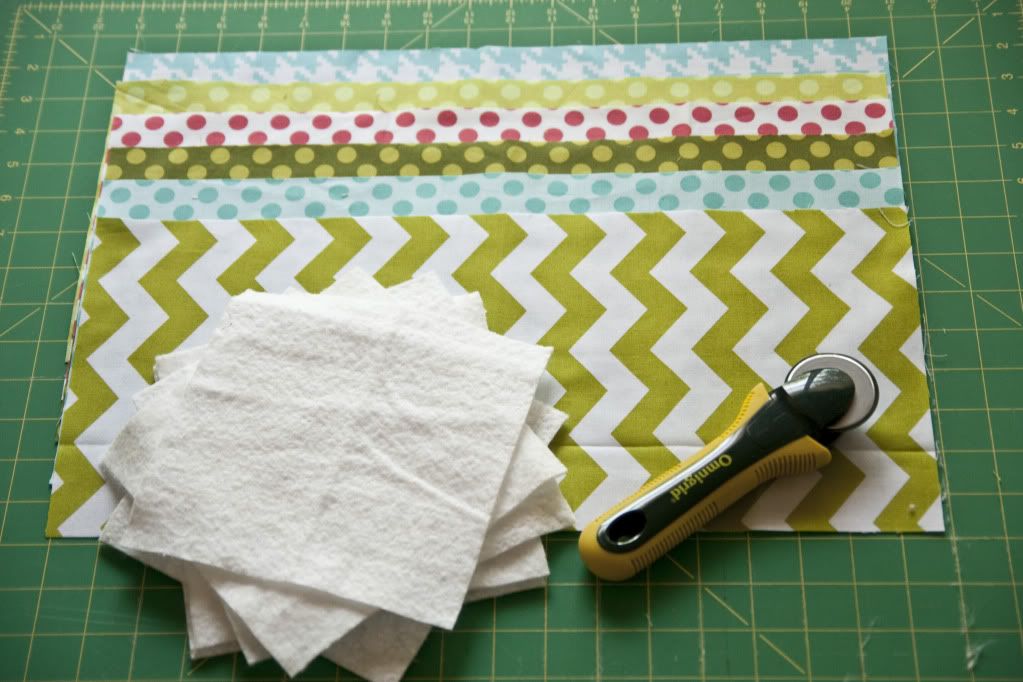
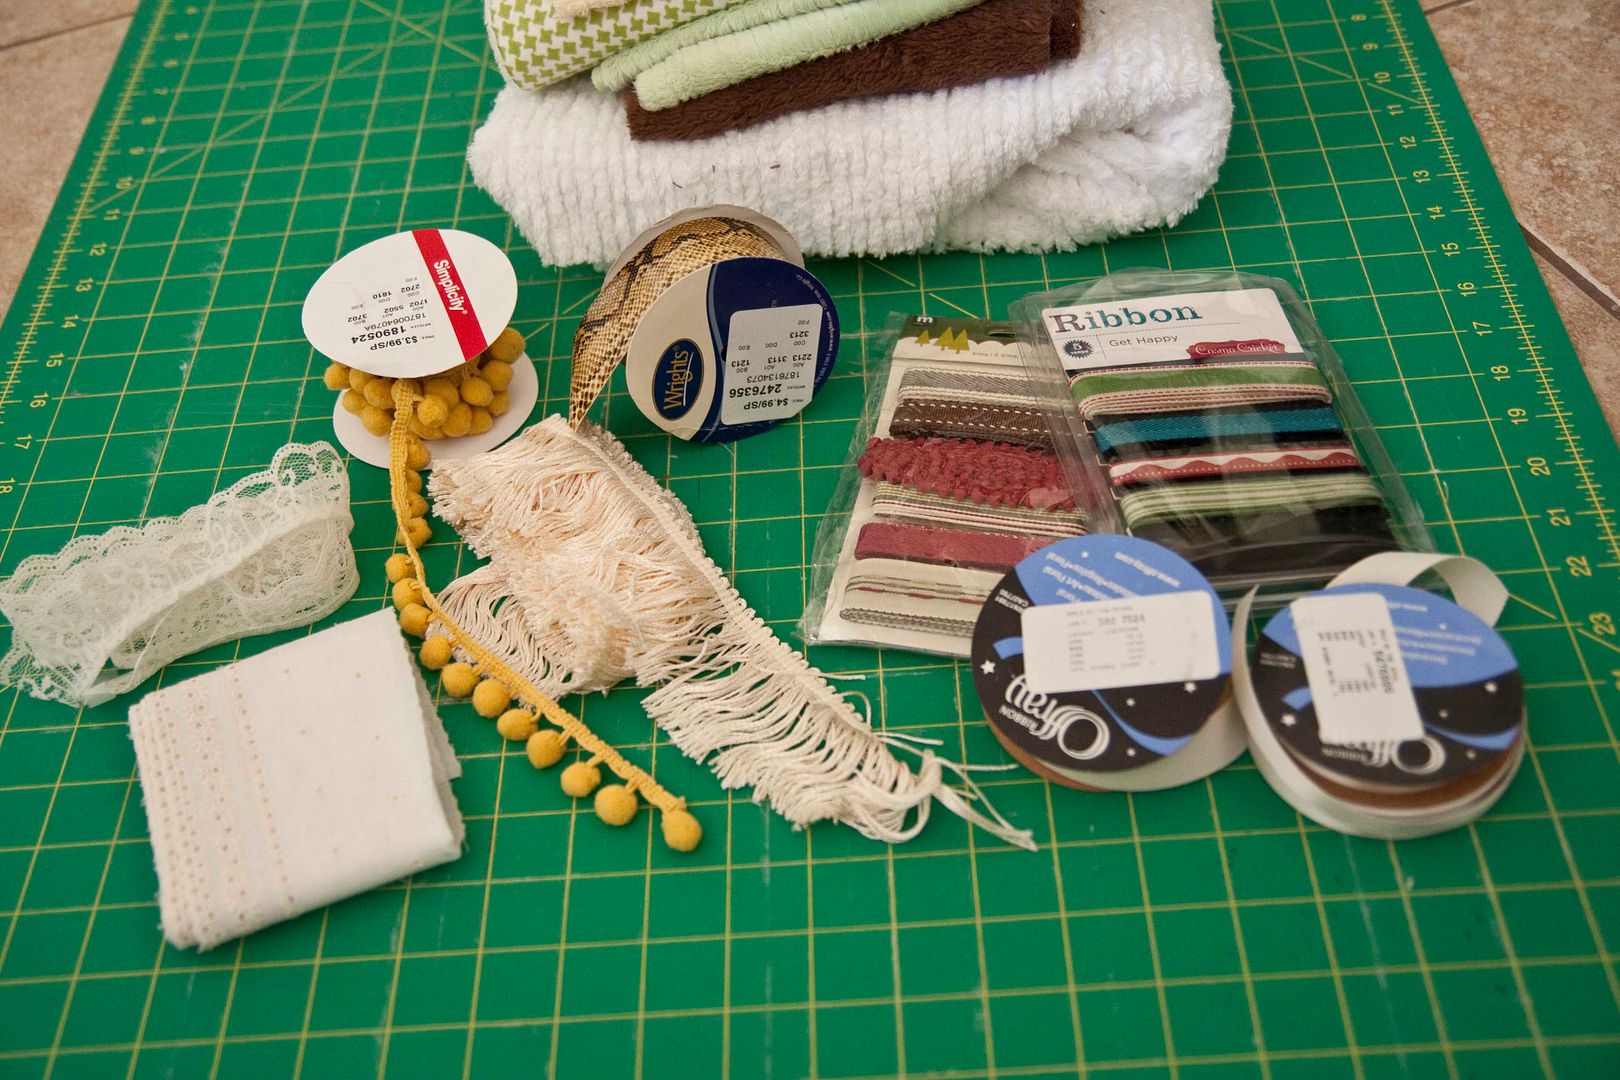
She gives a great tutorial  on how to make the little boy book (which you follow for the baby girl book too), and tells you all the supplies you need to get.
above picture from here
The instructions are easy to follow and full of pictures, so hop on over to her blog and give a baby "texture book" a try!
above picture from here
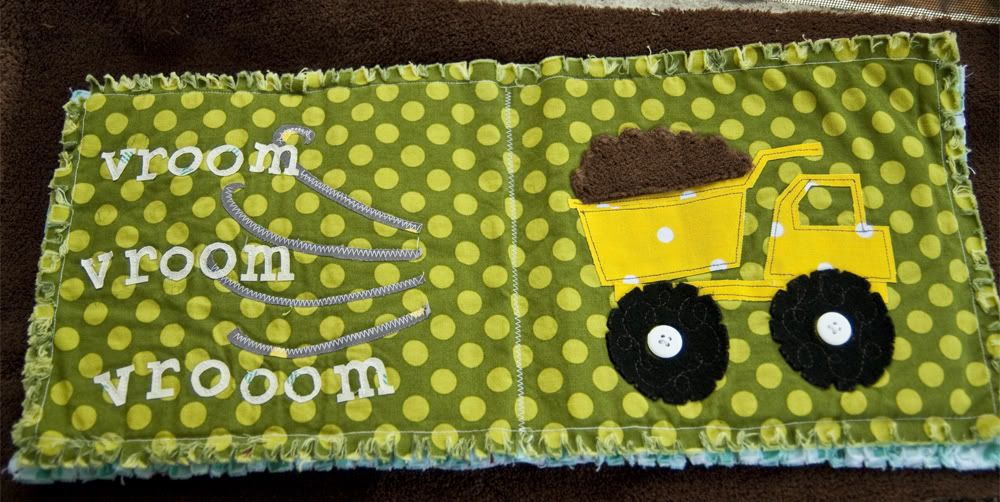
And don't you just love how she frayed the book's page edges?  I think my favorite baby boy page from her baby texture books is the dump truck full of fuzzy soft brown dirt!  So cute, yet manly for baby boy!
above picture taken from here
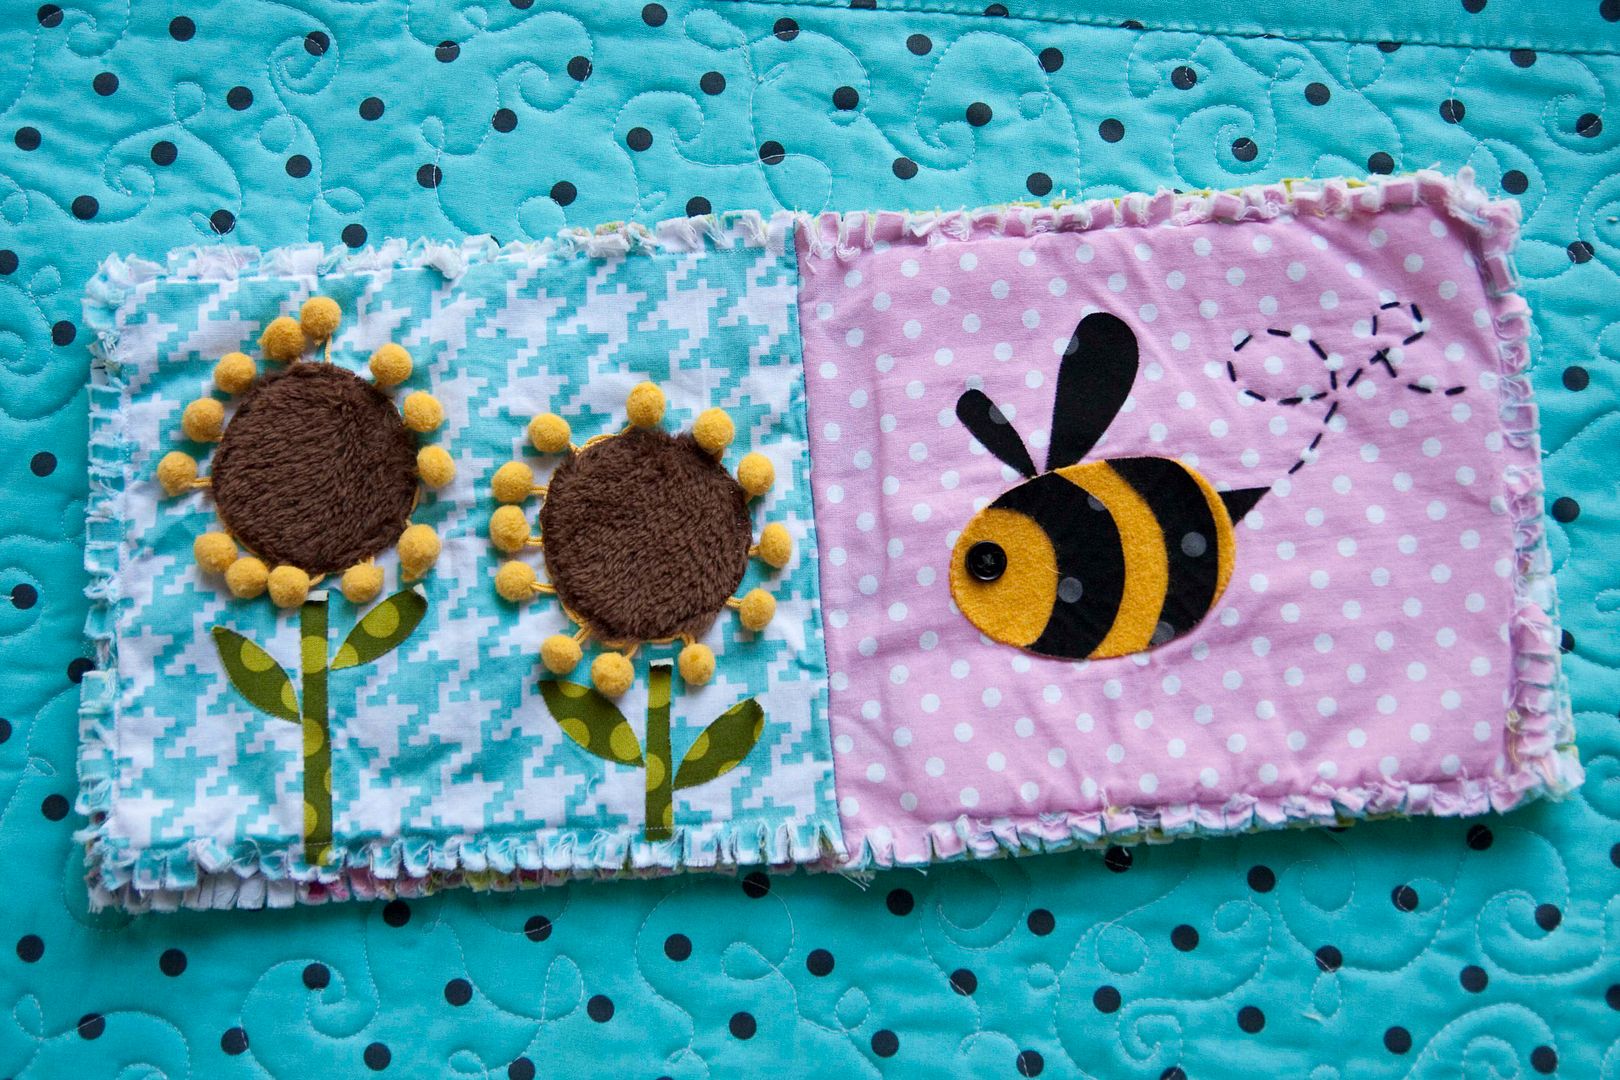
My favorite page from her baby girl texture book has got to be the sunflowers with pom poms and buzzing bee page.
above picture from here
Thanks Vanessa for sharing!

Sunday, September 11, 2011


A Polish Quiet Book

I just love it when I hear from someone that has come across this blog and found it helpful.  It makes me happy when you share with me your news about finally finishing your first quiet book, or how the pages remind you of the quiet book you had when you were younger, or maybe you have a question about a particular page.

Tonight I received one of those fun emails.  From cute little "Marta" on the other side of the world in Poland.  She wrote:

"Hello ! (Me: Hello back Marta!)

I've just finished my 2nd "quiet book" and I remember that U were interesting in collecting all bookmakers ideas :)
So, that's my link, which I would like to share with others:
QUIET BOOK 2#
http://marta-mojepasje.
blogspot.com/2011/09/niesiona-
wena-popeniam-kolejna.html
QUIET BOOK 1#
http://marta-mojepasje.
blogspot.com/2011/08/quiet-book.html

I believe that my "pages" will inspire others to be creative :) (Oh yes they will Marta!)

Keep worm + hugs _ m@rta  http://marta-mojepasje.
blogspot.com

Please make sure you go and visit Marta's blog.  It's so colorful and beautiful and I'm loving the Polish sewin' style of her Quiet Books.  Here's a few of my favorites of her pages:
Aren't those awesome?  Or "niesamowite" according to google translate :)
Thank you Marta!

Saturday, August 27, 2011


Quiet Book GROUP

There is a lot of buzz on the web lately about Quiet Book Groups.  It's a social, fast, lower cost, and fun way of putting together a quiet book.  In essence, what it is, is you round up a group of other people interested in making a quiet book.  You decide on what pages you all want to include, you divide up the pages, and then you swap.  So lets say if you had 12 people in your group, and you were each making a different page, so that your quiet books in the end were 12 pages big (6 pages back to back).  You then would make 12 copies of that page you were in charge of.  You could also do it with a smaller sized group and then just be in charge of more than one page.

One of our readers here, Jacki, was wonderful and shared with me a link to her blog showing the wonderful collection of quiet book pages she made in a group.  She also was willing to share her "instructions" for how to do it in a group which you can see below.  She also shared some tips which are in italics.  Thanks a ton Jacki for sharing your instructions, tips and insights!

Quiet Book Group Instructions
- Make 10 pages (they had a group of 10 women)
- Pages should be 10" x 12"
- Page should be created on home decor weight "target" material (Jacki mentioned that this ended up being a hard thing for a lot of the women in her group to find- and that in the future she'd recommend having one person buy a bolt of fabric and divide up the cost, as they ended up with different color and fabric backgrounds because the material varied from person to person).
- Pages are due August 1, 2011 (Jacki's group gave themselves 2 months, they had to extend because of vacations getting in the way)
- Leave 1/2" seam allowance around page edge to allow for binding  (Jacki mentioned that this is a very important thing that many people forgot about and people let their page coverings/extra felt bleed out onto the edge, making it difficult to bind.)
- Make any detachable pieces sturdy and durable -- double felt with interface between, etc
- Only use sew-on velcro -- no sticker kind
- Make all pockets and openings out of hard felt or normal cotton fabric- felt pockets get stretched out easily
- Sew with thread that matches the applique color (no white thread on black felt)- so it looks more professional, and you can't see mistakes as easily!)
- Sew velcro so that the soft side is on the page (that way it won't stick to other pages when you close the book)
- Don't use glue
- This is supposed to be a fun project, so don't worry, we'll all still be friends regardless of how our pages turn out, right??!!

Be sure to check out Jacki's blog and see her quiet book pages!  My favorites of hers were these:


Girl hair braiding complete with hair bows!:
A woman named Juli in Jacki's group made this delicious looking pie for the "weaving" page.  Super cute eh?:
Another person in her group, Erika, made a Mrs. Potato Head page, how fun!:
And Look at this I-spy quilt puzzle Jacki made:
Thanks so much for sharing Jacki!

Have YOU done a quiet book group?  Do you have any tips or suggestions?  Please feel free to leave any ideas or tips in the comments section!  Or email a link to your blog and I'll highlight it here.

Sunday, August 7, 2011


Calling all quiet book makers!

 I want to hear from all you quiet book makers!  Do you have a particular page you created in your quiet book that you are extra proud of and wouldn't mind sharing with the world how you made it?  If so, I want to feature you and your page here!

Please email me at fowlerfam at gmail dot com with your page and instructions (templates/pictures included) and I will feature you and your page right here and link back to you (if you'd like).

I created this blog about 4 years ago because there really wasn't much at all in terms of quiet book instructions and ideas on the internet.  Now, there are so many great ideas out there!  And I'd love to feature them here!

Also if anyone has done a quiet book group (where a group of you have gotten together and done a swap with pages), I'd love to hear from you as well and feature your guidelines/ideas here!  Just shoot me an email at the above address.  -Anna

Button trouble!

For some reason, my blog button stopped working (it's the little button on the right sidebar that you can "sew" on to your own blog to share with others that you are making a quiet book).  I'm terribly sorry!

I got it up and running again.  If you sewed on a button in the past and it is coming up as a black screen right now, you will have to re-sew it on.  Just follow the instructions I have posted below the button (click highlight and then right click copy), then in your blog page elements page, click add a new gadget, select html code and then just right click paste the code you just copied.  That should work!

Thanks to all of you that have shared this blog with others by sewing on a button to your blog!

Wednesday, November 10, 2010


Page 24: Tie My Shoe

I'll be honest, I made this shoe page 4 years ago, and since then, have seen MUCH CUTER shoes out there on people's blogs.  I'll provide instructions on how to make mine, but I'll also provide some links to even trendier shoe pages down below;)

And this is the last page in the quiet book (24 pages back to back total!).  I'm going to try something new after this- I'll highlight different pages of quiet books I've found to be really great (if you have one you think is fabulous, and you want me to highlight, send me the link to: fowlerfam at gmaildotcom).  I'll also spend some posts on highlighting tips and pictures of how to do a quietbook group (I had some friends do this last year and I attended one of their swaps and took a bunch of pictures).  I'm also going to try and get templates up on each page.  So stay tuned! 
First off, here's the template I've made for this page:

 This shoe page is yet another page I copied from my mom's old school quiet book page.  There was a page with an old vinyl red shoe I remember as a kid practicing my tying skills on.  Here's the template my mom made years ago:
One thing my mom recommended when I was making my own quiet book 4 years ago, was to make things out of fun, imaginative material.  Throughout your quiet book you will want to have different textures of material.  I know felt is what a lot of the book is made out of, but take advantage of the shoe page to use a different, new sort of material.  You might try corduroy (like mine), or vinyl (like my mom's), or leather (if you are posh), or some sort of fuzzy material.

Items Needed: a piece of 7" x 10" in the material you want your shoe and shoe tongue out of.  8 eyelets (for 2 rows of 4), 1 shoelace (make sure it can easily fit through your eyelets, and a shorter size shoelace generally works better- or you can trim it down, although those plastic thingies on the end of a pre-cut one sure come in handy when you are threading the lace through the eyelets).


Teaches: how to tie your shoe!  Also teaches lacing, tying a bow or knot.


Cut out the following pieces: (tip: I used pinking shears when cutting out my shoe material- since corduroy frays).  Cut out a shoe and shoe tongue from the template pieces (only cut on the blue lines- the dotted lines are for top stitches you'll add later.  If you want the shoe to have two different textures (like a white leather toe), then cut out a  piece of the other material from the dotted top stitch line (be a little generous when cutting so you have room to sew them together).  After you cut out the shoe shape, be sure to cut out the inside part and cut the line that goes up the front of the shoe on the lacing part.


Directions: First you are going to want to top stitch around the opening of the shoe and up the line under the laces.  Then, add your eyelets.  I have an eyelet tool which works great and is fast and easy for this.  You then are going to want to add a top stitch that can secure the shoe tongue in place.  Place the tongue piece under the shoe material/lacing slit so that it protrudes a bit out of the bottom, and then sew a stitch out from the left side of the shoe, over to the 3rd lacing hole, up around the lacing portion and shoe tongue top, and then down the right side to the 3rd lacing hole and out to the right edge of the shoe. 


Next you are going to want to sew your shoe onto your quiet book page.  Center it (and you might want to add a word blog with the text "Tie my shoe!" or "Can you tie me?" or something above it).  And then sew it into place.  Be sure to only sew around the outside of the shoe (you don't need to sew on the inside or around the hole).  This will make it kind of fun too as your child can stick their hand inside the shoe (or even try their own foot!  I remember trying that as a kid).


Last step- lace the shoe and tie a bow!


Here are links to really cute shoe pages for more ideas:
Thornock's do 2 shoes

 My little sister's
Naptime Journal does a lacing football rendition
Crafty Chic lyric

Andrea's Original's (with template)

Leafy Tree top's page and template

For a football lacing rendition template, visit Jodell's template

Friday, August 6, 2010


Page 22 & 23: Counting 1-10

*Sorry- for the hiatus in posting- I had a new baby and moved across the country!*
This is a page I copied from my mom's original quiet book. Here's some other links to cute numbers pages in other quiet books: Homemade by Jill's 1-4 (I love how her numbers have that cute stitching on them!), or a different approach to counting with objects with Sew can do's rendition with objects, and lastly my little sister, Sara Jean, made a really cute numbers page complete with a place to do MATH (her husband is into numbers, so this is perfect for their kids).

Items needed: felt in various colors for the numbers, felt or material to make a pocket to place numbers in, velcro pieces (I used 14 teeny squares, cut from a strip to make mine), thread.

Teaches: numbers 1-10, matching, color recognition, working with velcro.

Cut out the following pieces: cut out each number 3 times (1 for applying to the page, 2 for sewing together and becoming the removable number pieces). My numbers are roughly 3" tall. You are going to want to originally cut out the numbers a bit larger than the final product, as you will trim them down a bit after doing some sewing. You can also use the template below if you'd like:
Then cut out the velcro in square/rectangle shapes (if you are using velcro from a strip). I used 1 square piece of velcro on most numbers, except for the 2, 5, 0 (on the 10), where I used 2 pieces on the number.
Then cut out the pocket pieces. I used pinking shears on my bottom rectangle and on the bottom lid part of the upper rectangle so it wouldn't fray/be extra sturdy. My rectangle pieces for the pocket measure: 7.45" x 1.25" (pocket lid), and 7.45" x 3.5" (pocket bottom).

Directions: First you are going to want to sew the velcro to the numbers pieces. First apply the soft velcro piece to the backside of just one of the copies of numbers you just cut (so for instance, you should have three number 4's cut, just take one of these number 4's, flip it over, so you are looking at the number backwards- and from the backside, sew the velcro piece on). The picture below shows the number already sewn to the page (I took pictures after the page was finished), but at this point you are going to just be sewing the velcro onto just the number (not the muslin too). Sew the corresponding "prickly" piece of velcro to the number 4 piece that will be applied to the muslin page- this time sewing on the velcro to the right side of the number four. Be sure to sew the velcro onto these pieces so it matches up to the velcro sewn onto the number pieces. (Number 1 piece shown below- once again, this picture was taken after the page was finished- at this point, you will just be sewing the velcro to a single number (not 2 numbers sewn together).One thing to take note when applying the velcro and even cutting the velcro rectangles, is you will eventually be trimming down these numbers just a tad, so don't have the velcro go all the way out to the edges.
don't mind my messy stitching above :)
Next, you are going to want to make your number pieces (the removable piece) double thick. Do this by taking the number copy that has the soft velcro attached to the backside and the number copy with no velcro attached and pin them together. Sew these 2 pieces together by stitching around the edges. Once you've stitched them together, take a pair of scissors, and trim around the edges so that the stitch you just made is near the edge. Pick up the left over number copy (the one with the prickly velcro on the right side), and and hold it up against the number piece you just made and trim it down so it matches in size.

Next, place each "left-over" number copy on the muslin pages (I spread mine out over 2 pages), so you can get a feel for their placement on the page. On my page, the left page is numbers 1-6, and the right page is number 7-10 and then a pocket below those 7-10 numbers. You will also want to place the pocket pieces in place on the page before you sew the numbers on to make sure it all fits. Remember that you will be sewing the muslin page together to another muslin page in the end, so be sure to leave enough edge around the border.

Once things are in place, sew the single thickness numbers on the muslin page (don't sew the double thickness number pieces on- those will attach with velcro!) right side up, so the velcro shows. Then just velcro the numbers onto the page into place. Then sew on the pocket- mine is really simple. I just first sewed the pocket bottom on (just sewing around the left and right edges and bottom (leaving the top open), and then sewing on the pocket lid (placing the lid so it's lip goes over the pocket bottom slightly) by just stitching on the left and right side and top (not the bottom).There you have it- a numbers page. Get counting!
*Next up- Tie the shoe page, and then we're done!

Thursday, March 25, 2010


Page 21: Picnic basket/table setting

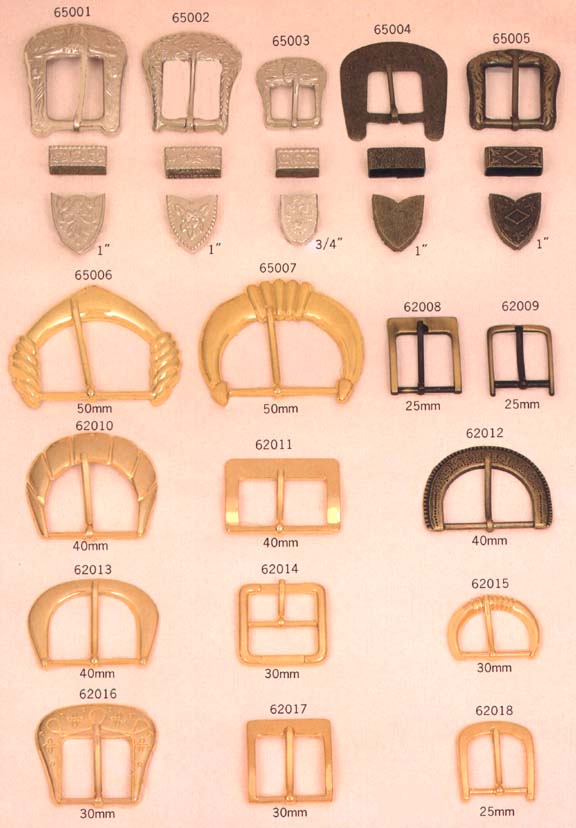
This is a page I came up with after wanting to do a buckle, and also wanting to be able to teach my kids how to set the table correctly (this is something I'm ashamed to admit, but as a mom I sometimes still do wrong!). Other great buckle page ideas can be found here (from little handsbigwork.blogspot.com), and here (this is my little sister's book, scroll down to the super man buckle), and here (scroll down to the sixth picture down).

Here's my attempt at providing a template. It is all drawn to scale on a 8.5" x 11" sheet of paper, so if you are able to print it out at 100%, the sizes should be about right. The only thing not listed on the template is the napkin, which is pretty self explanitory- basically just a square folded up into a triangle.

Items needed: One small buckle (I got mine at Joann's. They have a variety of shapes/sizes/in metal or plastic- look at all these fun buckles), about 8" x 12" rectangle of material for placemat and napkin (I picked a red gingham that would fray at the edges to give it a picnic feel), 6 small velcro pieces (I cut mine down from one large piece), brown felt for the basket, 5" x 5" square of white pellon for place settings, 5" x 5" square of white felt for backing on place settings, 4 eyelets, brown and/or white thread for sewing.

Teaches: buckling/unbuckling, how to set a table, imaginative play.

Cut out the following pieces: from you large rectangle of material, you are going to want to cut 2 pieces- one large 7.5" x 7.5" square for the napkin, and one large 7.5" x 4.25" rectangle for the placemat. Cut your velcro pieces down to size later (they'll need to match the corresponding place setting). Cut your brown felt into the following 6 picnic basket pieces: basket body (mine is about 5" wide, 3" tall, and sort of rounded on the edges), basket lid (cut it like a long oval that will cover the basket pocket- mine is 5" wide, 1.5" tall, basket handle (cut it so that it is a wide upside down U-shaped piece- mine is 4.5" wide, and 1" tall), eyelet strip (cut out a long rectangle strip- with one end cut evenly, and the other en cut to a point- my strip is .75" wide x 3.5" long), buckle strip (this is the piece that will attach/fold over onto to the buckle- mine is 1.75" wide x 3" long), belt loop (this is a small piece that folds around the buckle strip and is like a belt loop and will fold around your buckle strip and hold your eyelet strip into place when all buckled- mine is .5" tall x 2" wide). Cut out your 5 place settings: Plate, fork , spoon, knife, cup, from the white pellon (I first drew them out with a black sharpie on the white pellon before cutting, and arranged them on the place mat to make sure they fit properly), and cut out identical pieces from the white felt. To give you a general idea, my plate is about 2.75" wide in diameter, and my utensils are about 3" tall. I ended up trimming my place settings down after sewing them the double thickness, so at this point, while doing the initial cutting, you might want cut them out generously and leave some room on the borders beyond the black marker so your stitching won't get too close to the edge.

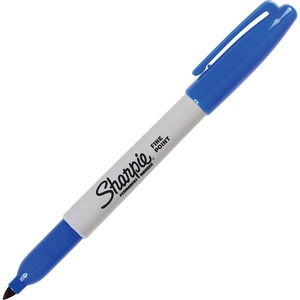
Directions: First, let's make those places settings (plate, fork, knife, spoon, glass). I used sharpie pens to draw out mine. I used an ultra fine black sharpie (permanent marker) for drawing the utensils and then used a colored blue sharpie for coloring in the plate and water in the glass. Sharpies work great on the pellon as they don't bleed. Before you sew the white pelon to the white felt (to make the place settings double thickness), you are going to want to sew on the velcro to the white felt half. I used the soft/non sticky 1/2 of the velcro for this (so the placesettings wouldn't stick to the inside of the picnic basket) and just cut out small, thin pieces of velcro to match the specific place setting (see picture). Sew those into place onto the white felt pieces, and then sew the white pellon (drawn on) pieces to the felt/velcro pieces. After sewing those together to make them a double thickness, trim the edges so that they lie close to the stitch.
Now, for the napkin. This is pretty simple, just take your 7.5" x 7.5" square and fold over the edges and iron, and then stitch to provide a finished edge on all 4 edges. Then, I folded my napkin into a quarter (so it was triangle shaped), and sewed on a piece of velcro to it, so that it would stick to the place mat too. Because I applied the velcro to the napkin after folding it, it makes it so that you can't open the napkin completely, but it stays in a nice little triangle this way and makes it easy to use when setting the table. After applying the velcro to the napkin, I folded the napkin one more time and ironed/starched it (so it became a smaller triangle and fits nicely on the place mat).For the placemat, take the 7.5" x 4.25" rectangle and on the top and bottom edges of the rectangle, and fold them over and top stitch on top. I wanted to leave my side edges unfinished (frayed) to give it a picnic look, so I didn't fold those edges over, but rather frayed them and then top stitched where the fray meets the material so the fraying would stop. Then you are going to want to apply your other 1/2 of the velcro pieces to the place mat. Play around with the place settings and napkins and find out where they fit best. Then pin the velcro pieces into place and sew them to the place mat material.
Now you are ready to sew the place mat to the quiet book page. My place mat takes up the top half of the page. You may want to sort of position your basket on the bottom half, to make sure everything will fit okay (make sure to leave edges for the borders!). Once you've sewn the place mat on, you are ready to start working on the picnic basket!

Now, to build this picnic basket! First thing you are going to want to do is place the brown cut felt pieces together at the bottom of the page to sort of build the basket. This will help you know where to position the first piece you are going to sew on- the basket body. Before you sew on the basket body to the muslin quiet book page, you are going to want to top stitch just the top edge of the basket body. Since you sew this on like a pocket, it is this top edge that will not be sewn onto the page and will be tugged on the most. Once you've top stitched that, lay the basket body onto the page, and sew down the sides and across the bottom so you make a pocket.
Then you are going to want to top stitch the bottom half of the wide ovaled basket lid (since the top half will be sewn to the page it doesn't need top stitching). Then place the basket lid over the basket body, so that it's bottom rim comes down over the basket body about 1/3". Sew it into place by just sewing the top half of it to the muslin quiet book page. I for no particular reason (probably just ran out of one of the colors or something), used 2 different colors of thread here. If you look closely, you can see my white thread is the top stitching, and the brown thread is where I sewed the pieces to the muslin quiet book page.Next you are going to want to sew your basket handle to the page. I just placed it on top of the oval lid and stitched it twice back and forth into place.
Now for the buckle. Take your eyelet strip piece of felt, and apply four eyelets to it. On the pointed edge, I took a little bit of pellon (you could use any sort of reinforcement material here) and sewed it to the point so the point was sturdier (and would feed through the buckle easier). Place the eyelet strip now so the straight (not pointed) edge is in line with the top of the oval lid and sew that into place. I went back and forth on the sewing machine here with this stitch so that it was reinforced well to the felt/page since I knew it would get tugged on.

Next, you are going to want to apply your buckle to the buckle strip of felt. In order to do this, I had to loop the top edge over the buckle by making a small hole for the buckle tongue (the pin-like piece that feeds through the eyelets when the buckle is fastened) and then sewing the loop tightly into place around the base of the buckle so it becomes part of the buckle strip. I also reinforced my stitching here. Then you are going to want to take your belt loop, fold it into a ring shape and stitch it together, so it stays in a ring/loop. Slide this loop over the buckle strip you just built. Then sew the buckle strip onto the muslin quiet book page by placing it so that it's bottom edge (the edge without the buckle) lies flat with the bottom edge of the basket body. Before sewing this piece into place, you may have to play around withe buckle a bit and make sure it lines up well/attaches well with the eyelet strip that hangs down.

Lastly, if you want to put a text box on the page like mine, take some pellon and with permanent markers right something cute like "unpack the picnic basket and set the table", "set up a picnic!" or "a tisket a tasket, can you unbuckle my basket?"

Happy picnicking!

And up next is the "Numbers Page", so stay tuned! We're almost done with the 24 pages!!!